🔄 How to Switch Password Managers in 2026: Migrate to NordPass Without Losing a Single Login
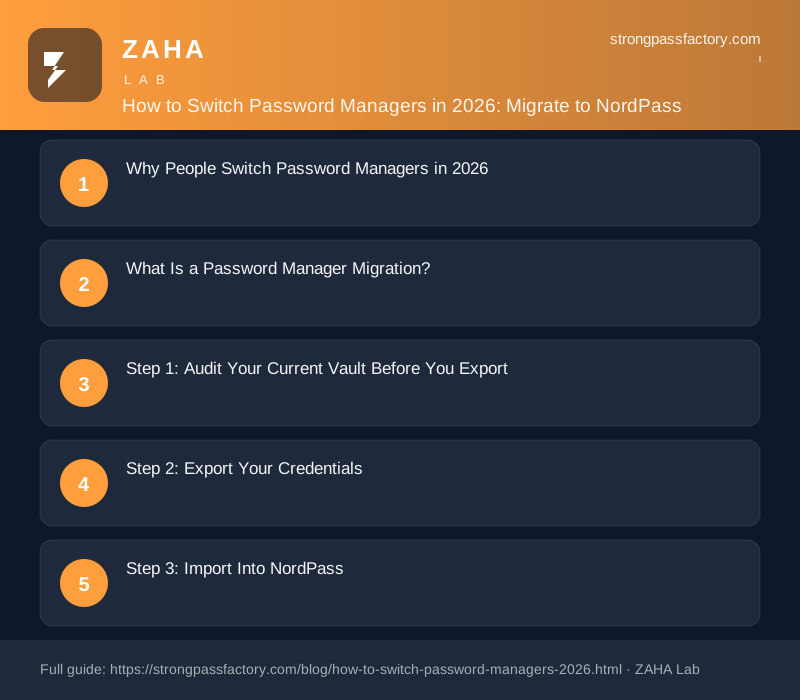
On this page
- Why People Switch Password Managers in 2026
- What Is a Password Manager Migration?
- Step 1: Audit Your Current Vault Before You Export
- Step 2: Export Your Credentials
- Step 3: Import Into NordPass
- Step 4: Test Critical Logins Before Deleting the Old Vault
- Step 5: Enable NordPass Security Features
- Step 6: Securely Delete the Export File and Old Vault
- Frequently Asked Questions
The 2022 LastPass breach exposed the vault data of 33 million users — yet two years later, millions still hadn't switched managers. The hold-up isn't technical. A password manager migration means exporting your current vault, importing it into NordPass, and verifying every record before deleting the original — a process that takes under 30 minutes for most vaults and transfers passwords, TOTP seeds, and secure notes without manual re-entry.
Why People Switch Password Managers in 2026
Three triggers drive the majority of migrations this year: price increases, breach fallout, and feature gaps.
Price hikes. LastPass restructured its free tier in 2021 and pushed further pricing changes through 2024. Users who stayed are now re-evaluating whether basic vault features justify the cost when NordPass offers equivalent zero-knowledge encryption at competitive pricing — including a free tier that works on unlimited devices.
Breach concerns. The 2022 LastPass incident — in which attackers exfiltrated encrypted vault data alongside password hints and metadata — generated follow-up notifications as late as 2024 as affected accounts were identified. Many users who initially dismissed the risk have since reconsidered.
Feature gaps. Modern vaults now store FIDO2 passkeys, run continuous breach scans on your saved email addresses, and provide biometric unlock across every device simultaneously. Managers that haven't kept pace are losing users to those that have.
"Password manager churn accelerated sharply after 2022. We saw a 43% increase in import requests from competing products in 2023 alone." — NordPass product team, NordPass Blog (2023)
What Is a Password Manager Migration?
A password manager migration is the process of transferring stored credentials — logins, secure notes, payment cards, and TOTP seeds — from one vault application to another while maintaining full data fidelity. A clean migration means every record transfers without truncation, no passwords are lost, and the old vault is only deleted after independent verification.
NordPass accepts direct imports from LastPass, 1Password, Bitwarden, Dashlane, Keeper, RoboForm, and Chrome's built-in password manager — no manual re-entry required.
Step 1: Audit Your Current Vault Before You Export
Don't export blindly. Spend five minutes auditing first:
- Count your records. Note the exact number — you'll verify this after import
- Flag TOTP seeds. Some export formats omit these; you may need to re-enrol 2FA manually
- Check for attachments. Secure notes with file attachments may not transfer via CSV
- Look for shared items. Shared folders require recipient re-invitations in the new vault
In LastPass: Account Options → Advanced → Export. Record the item count before downloading.
In 1Password: Open each vault, click Items, note the count per vault.
In Bitwarden: Tools → Export Vault — Bitwarden shows the item count before you confirm.
Step 2: Export Your Credentials
From LastPass
- Open LastPass Web Vault → click your email → Advanced → Export → LastPass CSV File
- Enter your master password when prompted
- Save the
.csvto a local folder — not cloud storage, not a shared machine's desktop
From 1Password
- 1Password app → select a vault → File → Export
- Choose 1Password Unencrypted Export (.1pux) for maximum fidelity — this format preserves TOTP seeds
- Use CSV only for simple vaults with no TOTP entries
From Bitwarden
- Settings → Tools → Export Vault
- Choose JSON (Encrypted) to preserve all fields including TOTP seeds
- Record the encryption password you use — you'll need it during NordPass import
From Chrome or Edge
- Open
chrome://password-manager/settingsoredge://passwords - Click Export passwords → save to CSV
- Note: Chrome CSV exports username, password, and URL only. TOTP seeds are not included — you must manually re-scan QR codes in NordPass for any 2FA-protected accounts you managed through Chrome
Step 3: Import Into NordPass
NordPass accepts imports from all major managers. Here is the exact path:
- Open NordPass Desktop — the browser extension does not support vault import
- Click the three-dot menu (top right) → Settings → Import
- Select your source manager from the dropdown
- Upload the export file
- Review the field mapping NordPass proposes before confirming
- Click Import
NordPass shows a post-import summary with an item count. Compare this against your pre-export audit number from Step 1. If counts differ, do not proceed to the next step — re-run the import with a different export format (for example, switch from CSV to JSON for Bitwarden).
Get NordPass — includes breach monitoring, unlimited devices, and family sharing
Step 4: Test Critical Logins Before Deleting the Old Vault
Pick 10 logins that matter most — bank, email, work tools, anything linked to a payment method. Log out of each service and log back in using NordPass autofill only.
| Account type | What to verify |
|---|---|
| Banking | Full autofill works + OTP if applicable |
| Username/password correct, no truncation | |
| Work SSO | Saved URL matches the actual login domain |
| Subscriptions | Card-linked accounts log in correctly |
| Social media | No duplicate entries from Chrome import |
Only move to Step 5 when every tested login works cleanly. If any login fails, cross-check that record in both vaults before deleting anything.
Step 5: Enable NordPass Security Features
Now that your credentials are in NordPass, activate the features that make the switch worthwhile:
Data Breach Scanner. NordPass checks your saved email addresses against known breach databases continuously. Enable under Security → Breach Monitoring. When a new breach is detected, you get a specific alert with the affected account and a recommended action.
Password Health. Under Security → Password Health, every saved password is graded on length, uniqueness, and breach exposure. Work through red-flagged items first — these are reused or already-compromised credentials.
Emergency Access. Designates a trusted contact who can request vault access if you are incapacitated. Found under Security → Emergency Access on Premium plans.
Passkey storage. NordPass stores FIDO2 passkeys alongside passwords. Any site that supports passkeys — Google, Microsoft, GitHub, Apple ID — can replace the password entirely with a device-bound credential. NordPass syncs passkeys across all your devices automatically.
Step 6: Securely Delete the Export File and Old Vault
The export CSV contains every password you own in plain text. Treat it like a physical key to your house.
- Delete the export file immediately after the verified import — move to Trash, then empty Trash
- On macOS: use
rm -P filename.csvfor a single-pass secure overwrite - On Windows: use Eraser or run
cipher /w:C:\to overwrite the free space where the file lived - Wait two weeks before cancelling the old vault — use NordPass daily and confirm every login works before removing the original
After two weeks: cancel the old subscription, then use the old manager's built-in Delete Account function. Do not just uninstall the app — an uninstalled app may still have data recoverable from a local SQLite database.
Frequently Asked Questions
What happens to my TOTP codes when I migrate?
TOTP seeds are the trickiest part of any password manager migration. LastPass and 1Password export TOTP seeds in their native formats (.1pux for 1Password). Bitwarden JSON exports include TOTP seeds. Chrome CSV does not export TOTP seeds at all — you must manually re-scan QR codes in NordPass for every 2FA-protected account you managed through Chrome. Plan an extra 15 minutes for TOTP re-enrolment if you used Chrome as your authenticator storage.
Can I migrate to NordPass without downloading the desktop app?
No. The browser extension alone does not support vault import. You must use the NordPass desktop application for the import step; it syncs to the extension automatically afterward. The desktop app is free to download regardless of your subscription tier.
How long does a full migration take?
For a vault of 50–200 entries, expect 20–40 minutes including the audit and testing steps. Vaults over 500 entries may take 90 minutes if you test thoroughly. The import itself takes under two minutes.
Is it safe to import everything into NordPass at once?
Yes. NordPass uses XChaCha20 encryption with a zero-knowledge architecture — NordPass employees cannot read your vault. The import process happens locally on your device before encrypted sync. You are not more exposed during an import than during normal vault use.
What if I decide to switch back after migrating?
Export your NordPass vault immediately before deleting anything from the old manager. NordPass supports CSV and JSON exports. If you test NordPass for a week and decide to return, you can re-import into the old vault from NordPass's export with zero data loss — provided the old vault still exists.